Total Pageviews

Wednesday, May 12

Starting to work out how the 4 front batteries and all the components will
fit into the space available

I used a cardboard mockup of a battery in order to size the
battery racks during welding.
Thanks for the tip Gav.

Fixing the motor to the chassis.
The cloth is covering the motor for obvious reasons

This is the fan assembly welded from a tin can which houses
a brushless fan and will be fixed to the lid of the rear battery box
for venting while charging.

The trunk, spare wheel well.
installing the conduit for the main traction pack.
Bringing power from the rear to the front.


The transmission all cleaned up and connected to the motor


I rented an engine hoist to install the motor


In she goes


The rear battery box

Buying the batteries

Thursday, April 8

Moving the motor around is no easy task


I needed to do a little bit of extra grinding to allow for the transaxle
to fit in without rubbing on the adapter plate


Adapter plate fitted onto motor first


Motor and tranny joined together for test run.


I have been chasing around getting the welding wire and the lugs to connect the batteries. There is a recession so the price of copper is going up. At least that is what someone told me.

Great news is that I got the adaptor plate back from the machinist and it is fantastic! I bolted it all together and gave it a test run with a 12 volt battery. It all worked fine. The next thing is to put it into the EV.


side view of rust repair

I added sheet metal and treated with rust killer

Monday, March 29

I have cut away the bad rust patch on the rear wheel well


This is the other side and it is in good condition.
I have to match the other side to this. I will use sheet metal
and build up a base and then use bondo to get the details.
Soldering the wires for the new radio.


soldering wires

This is satisfying and quite easy to do.


This is the finished radio adaptor now ready for installation.
This is the transmission with the other half of the lovejoy coupler.
The spider is also shown (the white thing)

Sunday, March 28

I used some old pieces of aluminum as braces for the new ceramic heaters


the two are joined together


I have them all wired up with #12 wire which will handle the 144 volts system


installing the new core.


I made a sheet metal cover and routed the wires where
the old pipes used to run. It is now ready to be put back in the car.


This is quite a puzzle. I have to remember how it all goes back.


There is still some engine coolant left in the heater core.


This is the core box with all the baffles for directing the air
to the different areas of the cabin


The open heater core box


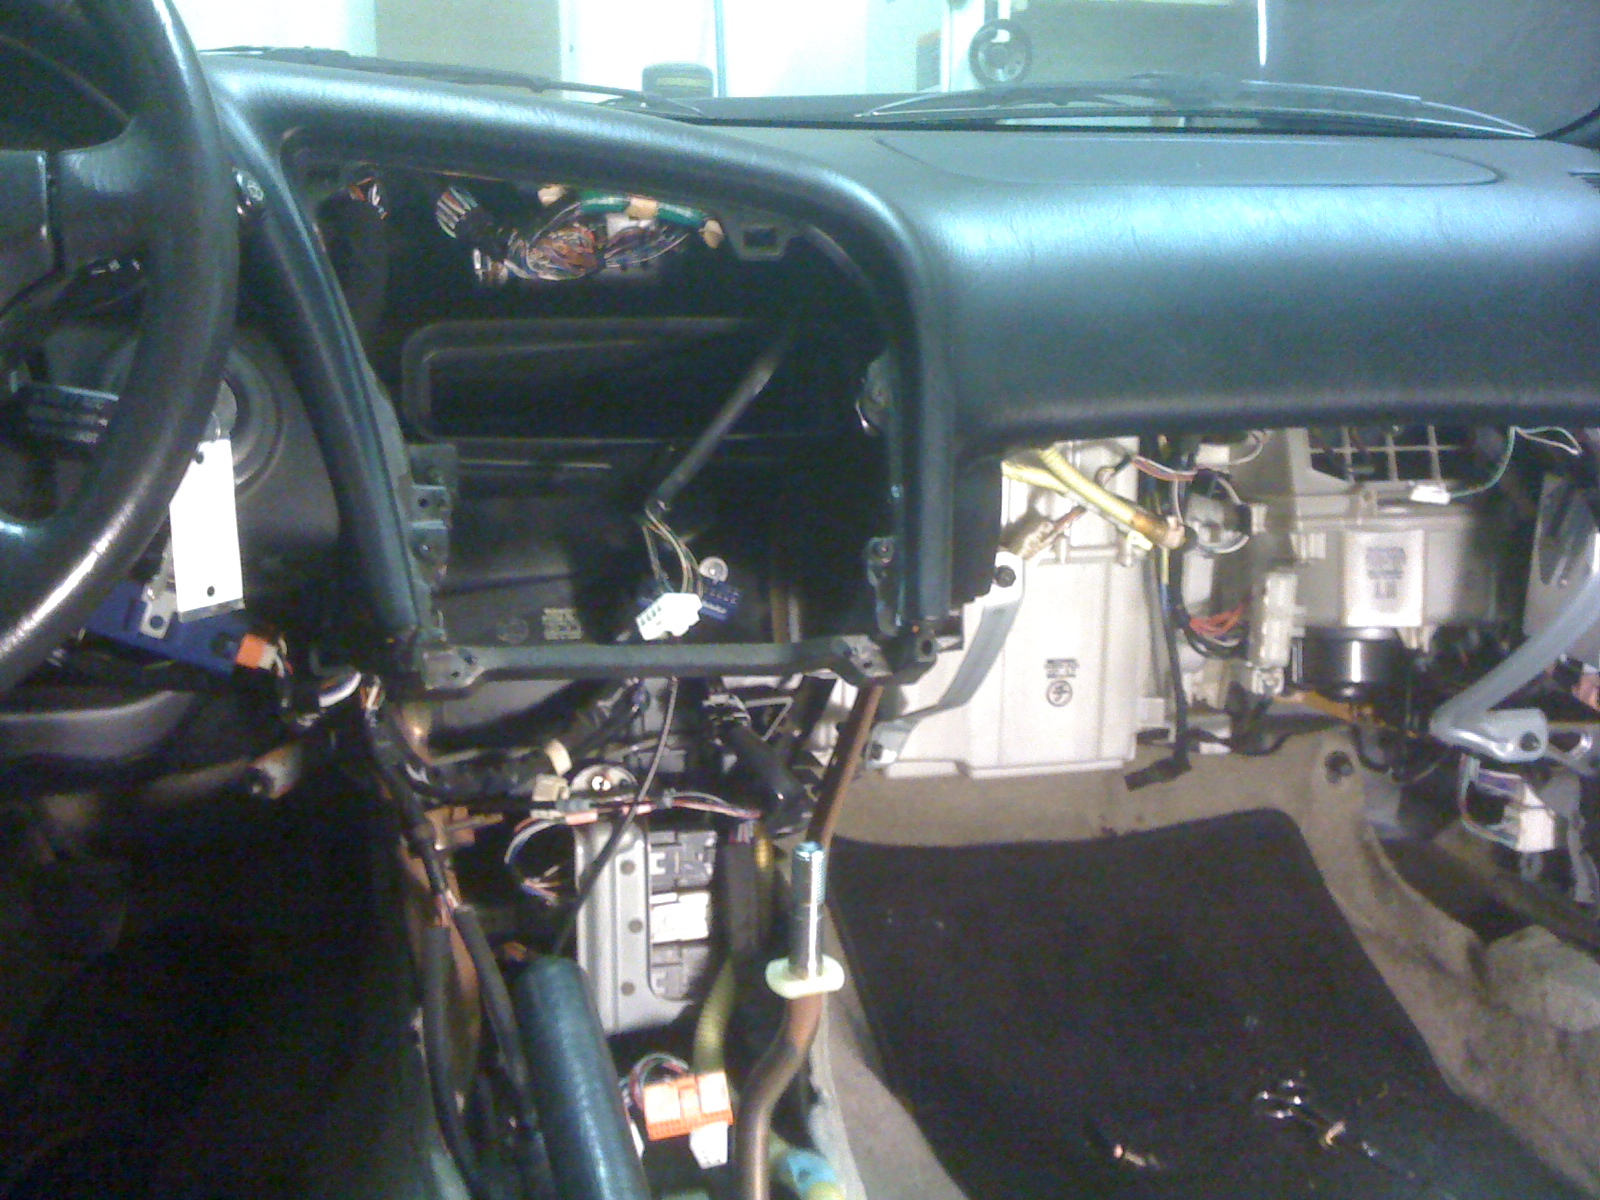
I had to remove most of the Dashboard to get to the old Heater core
This was the hardest part of the whole job so far.

This is the evaporator core which had to be removed first to get to the heater.


Finally I can at least see what I am trying to get to.


Giving the rear drum brakes a revamp.


Trying to make sense of all this existing wiring.
Most of it will remain untouched but I need to find ways to activate
some of the new components.

Wednesday, March 3


The other half of the coupling is on the motor.


I need to take these parts to a machinist to create the coupling


The first Lovejoy Coupler was too small.
It failed on me in the first 2 weeks and had
me off the road for over a week.

This shows the shattered coupling.
This is a later blog entry and happened in the first 200 miles of driving


It is removed


I need to remove the center splined piece from the clutch plate.


The Transmission is out and being cleaned

Monday, March 1


Removal of the right transaxle

Transaxle is out

Battery box mockup


The transmission needs to be removed too


A lot has happened since the last post.
My friend and master mechanic, Emilio Zullo, removed the engine and all that goes with it. I dragged it home on a trailer and rolled it into my workshop (garage), just before the 4th largest snow storm since the 1860's hit us.
I have managed to remove the transaxels and the transmission.
All the struts and shocks have been replaced. I also removed the coil springs and sent a sample of the front and back to 'Coil Spring Specialties' a company in Kansas.

Here is their website.
http://www.coilsprings.com/electric.aspx

I have also made cardboard battery mockup's so that I can plan the battery placement.

Most of the parts have arrived. This means that there should be no delays on that front.